Mike here – I just finished making our periodic batch of chicken stock, and this was a great one. If you’re not making your own chicken stock, definitely give it a try. It’s a great way to use up some kitchen extras, and useful to always have some on hand.
Whenever we cook poultry, we save whatever uncooked extras from the bird that would otherwise go unused – giblets and necks from a whole chicken, bones from de-boning, wingtips, backs, etc. We put them in the freezer in bags, and whenever enough accumulate, we make a batch of stock.
Start with the pot: 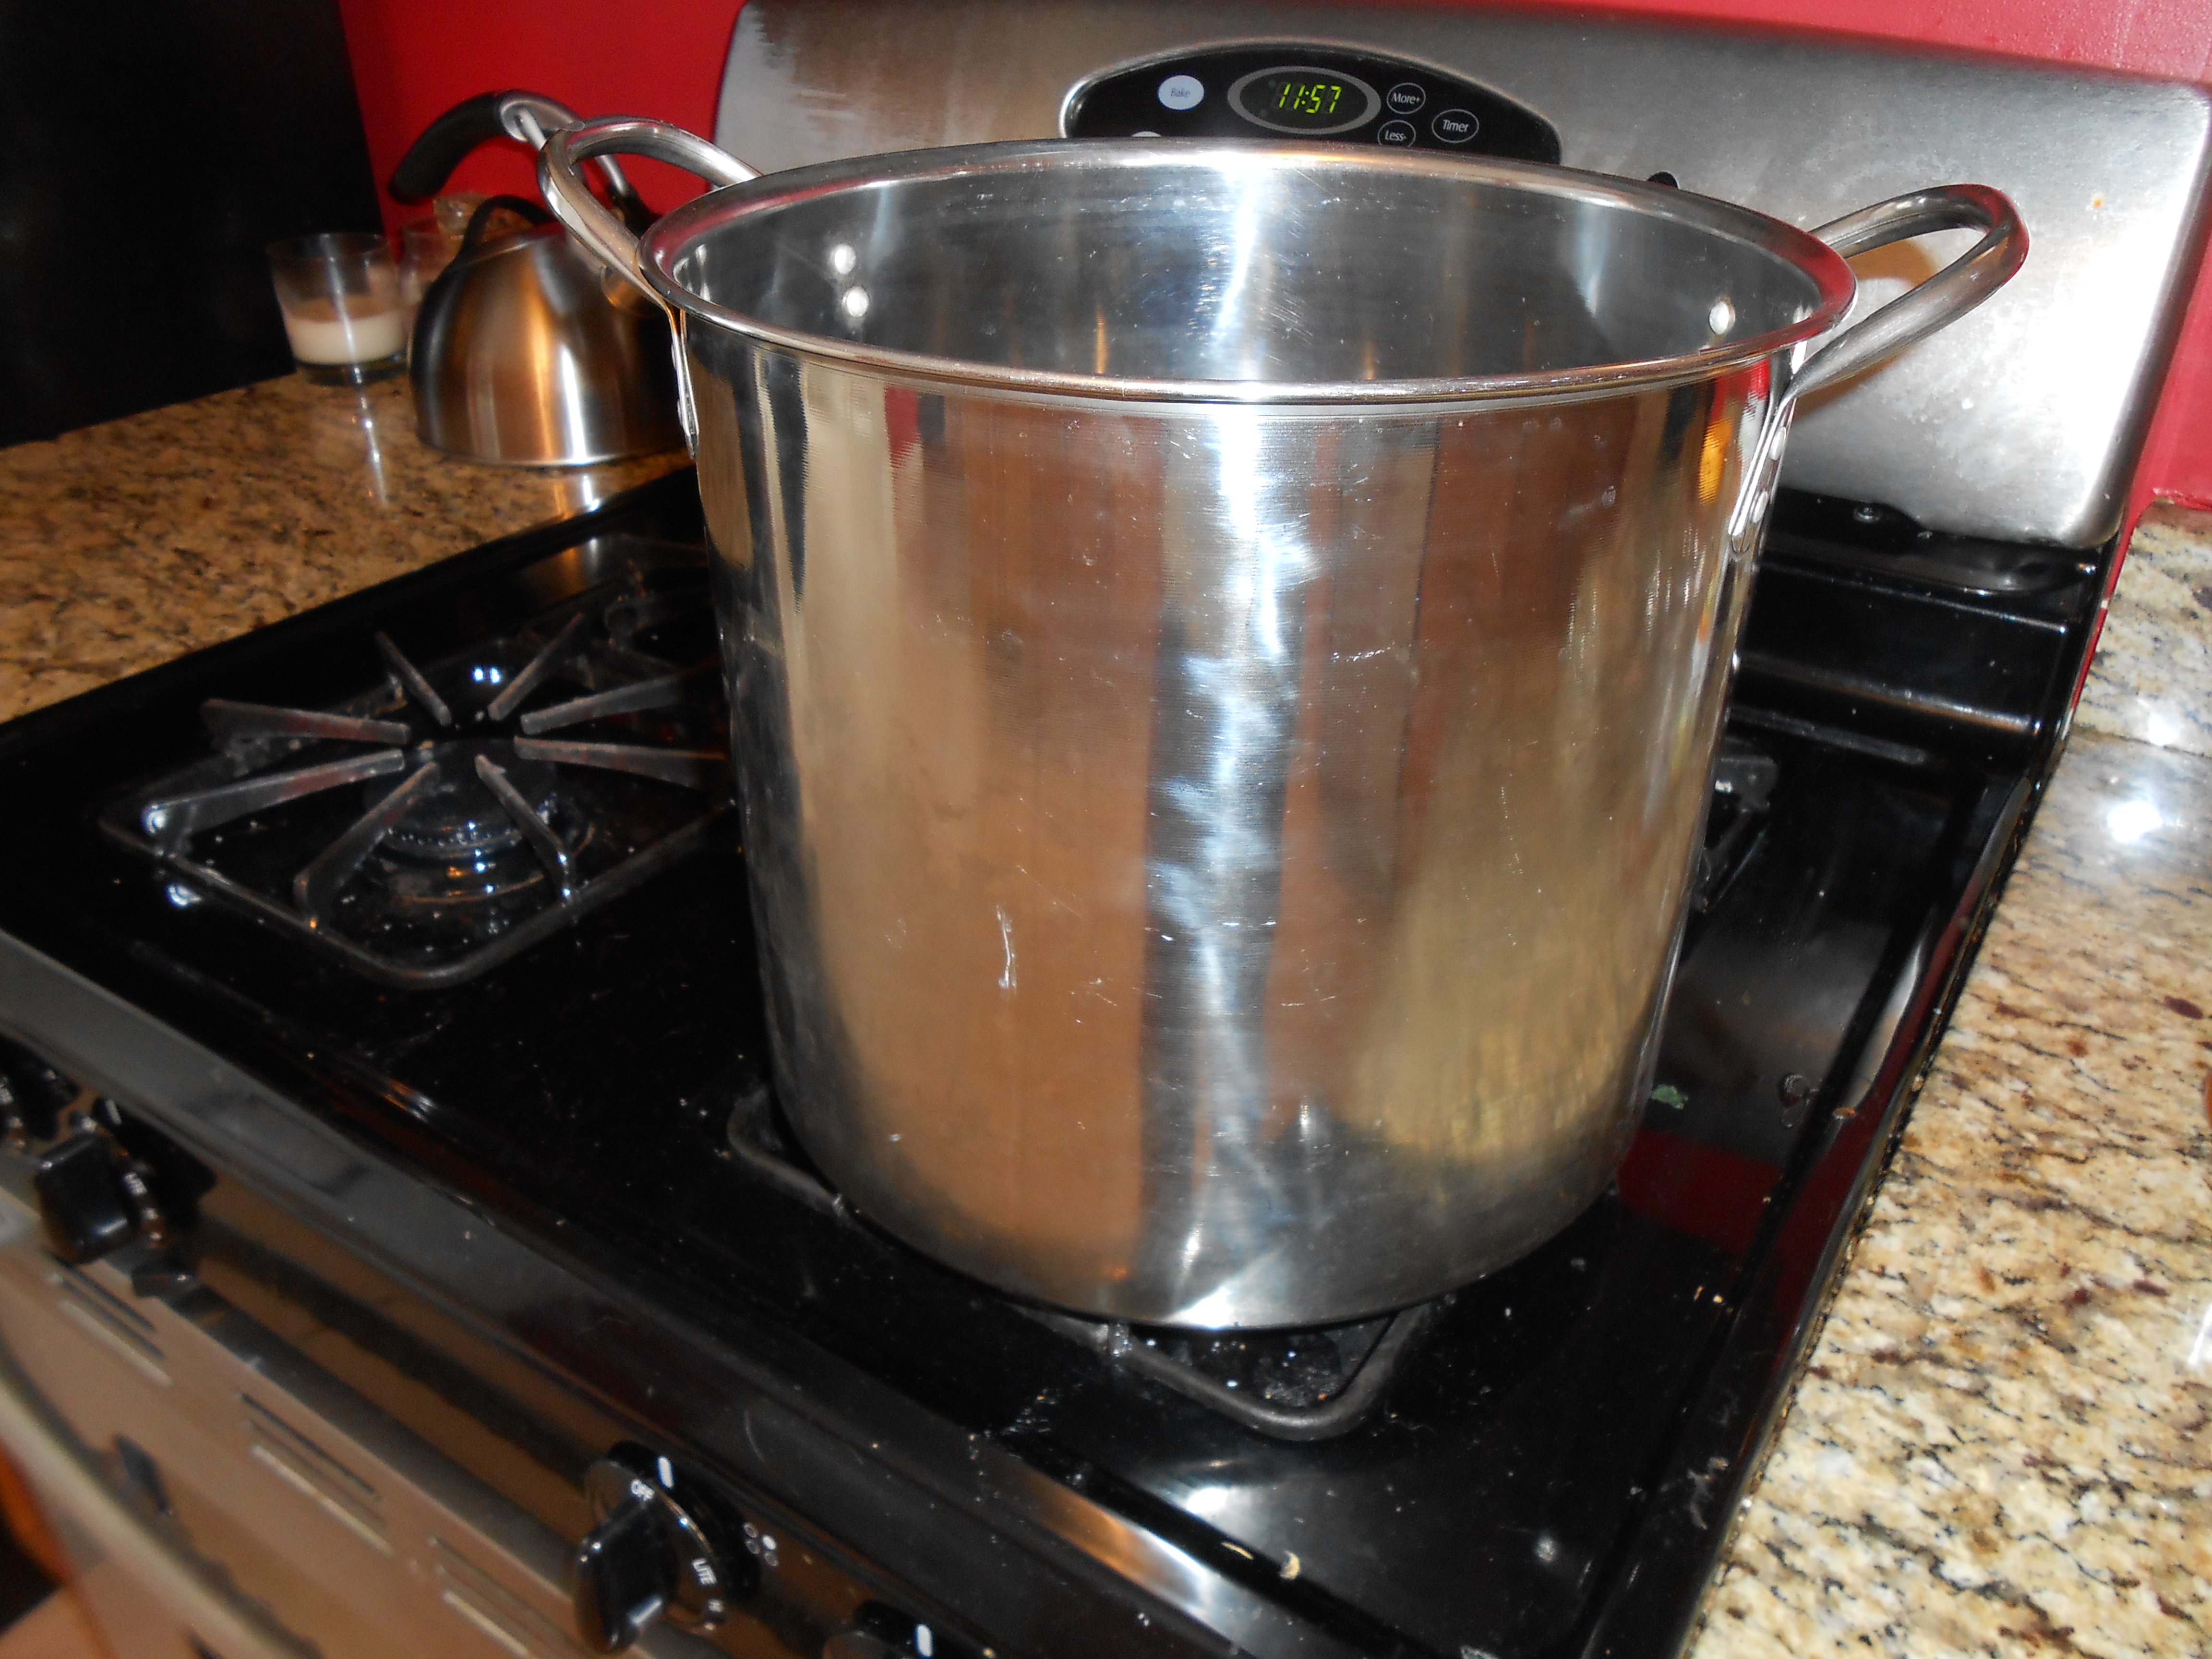 You want the biggest stockpot that you can lift while full. The size of the pot will determine how much stuff you’ll need to make a full batch. The ingredients will fill most of the pot, so that we end up with a rich, flavorful stock. This is about a 4 gallon pot, and we can expect it to yield about 2 gallons of stock from a batch.
Next, the vegetables: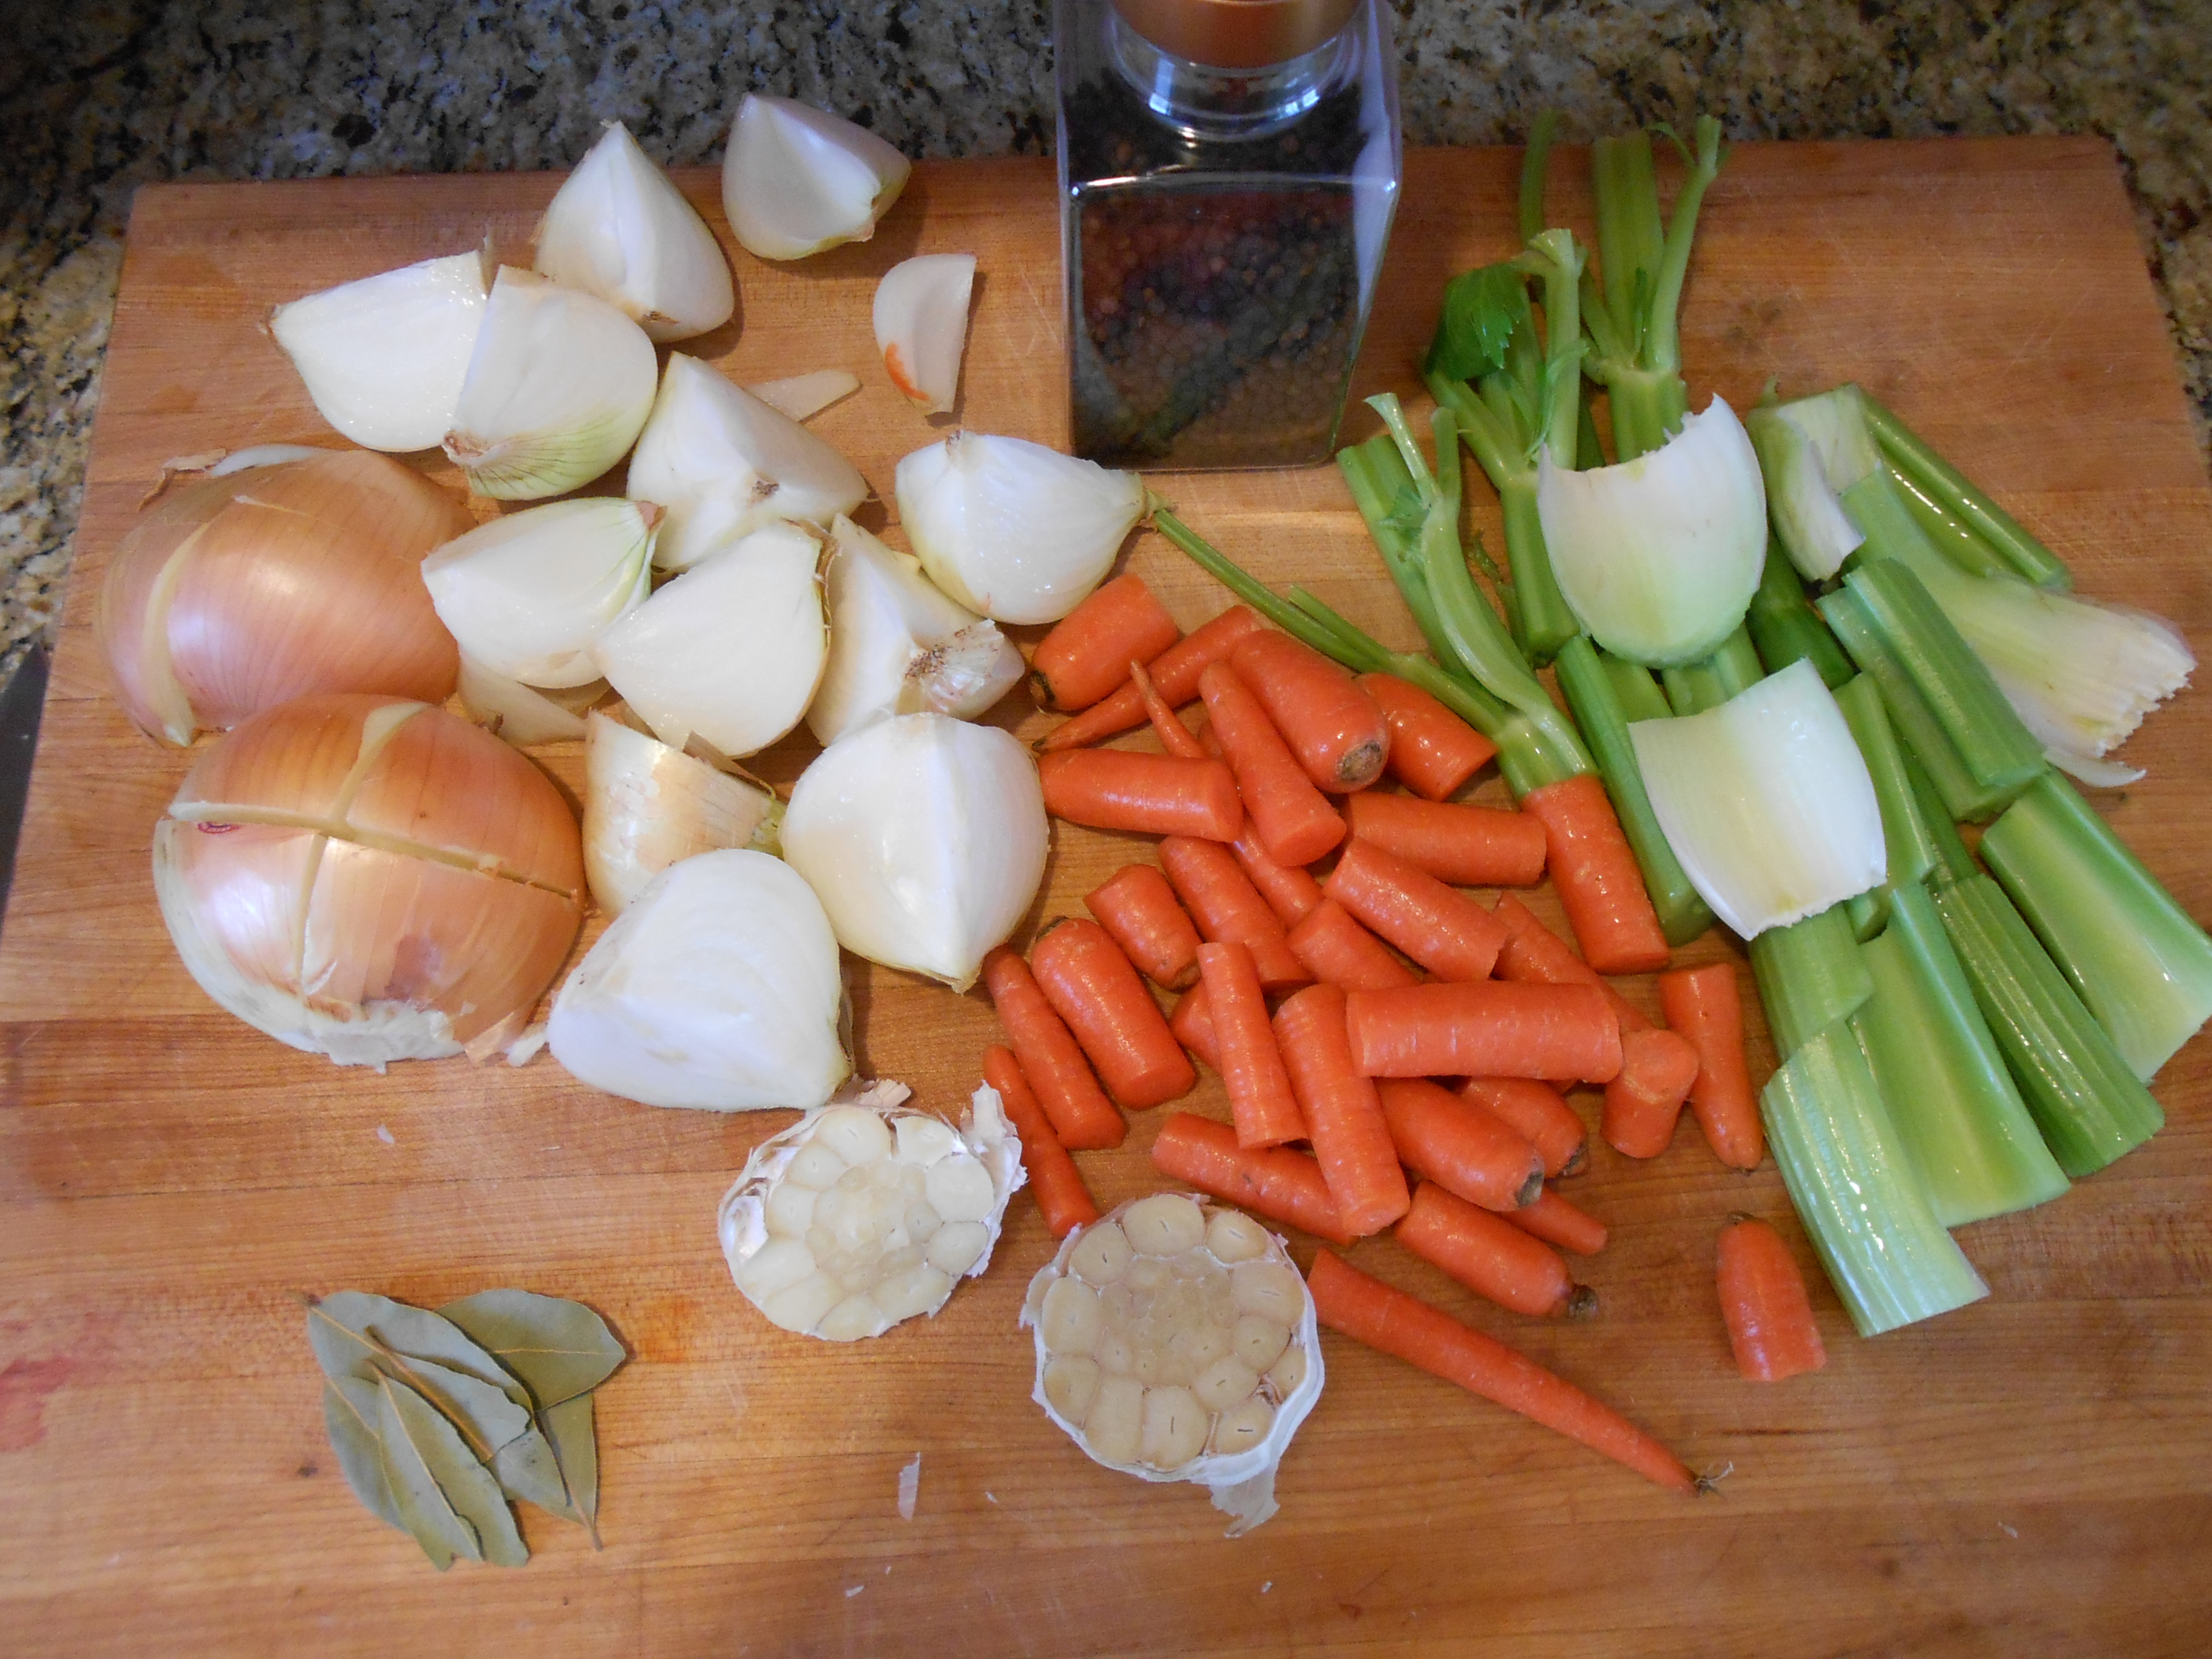 Onions, carrots, celery, and garlic. The amount of vegetables ends up being about 1/3 of the volume of the pot. For this size pot, I use 3 onions, 4 celery ribs, carrots about equal to the amount of celery, and a head of garlic. Cut the veggies into large chunks, cut the garlic in half. Also, 3 or 4 bay leaves and about 2 teaspoons of whole peppercorns.
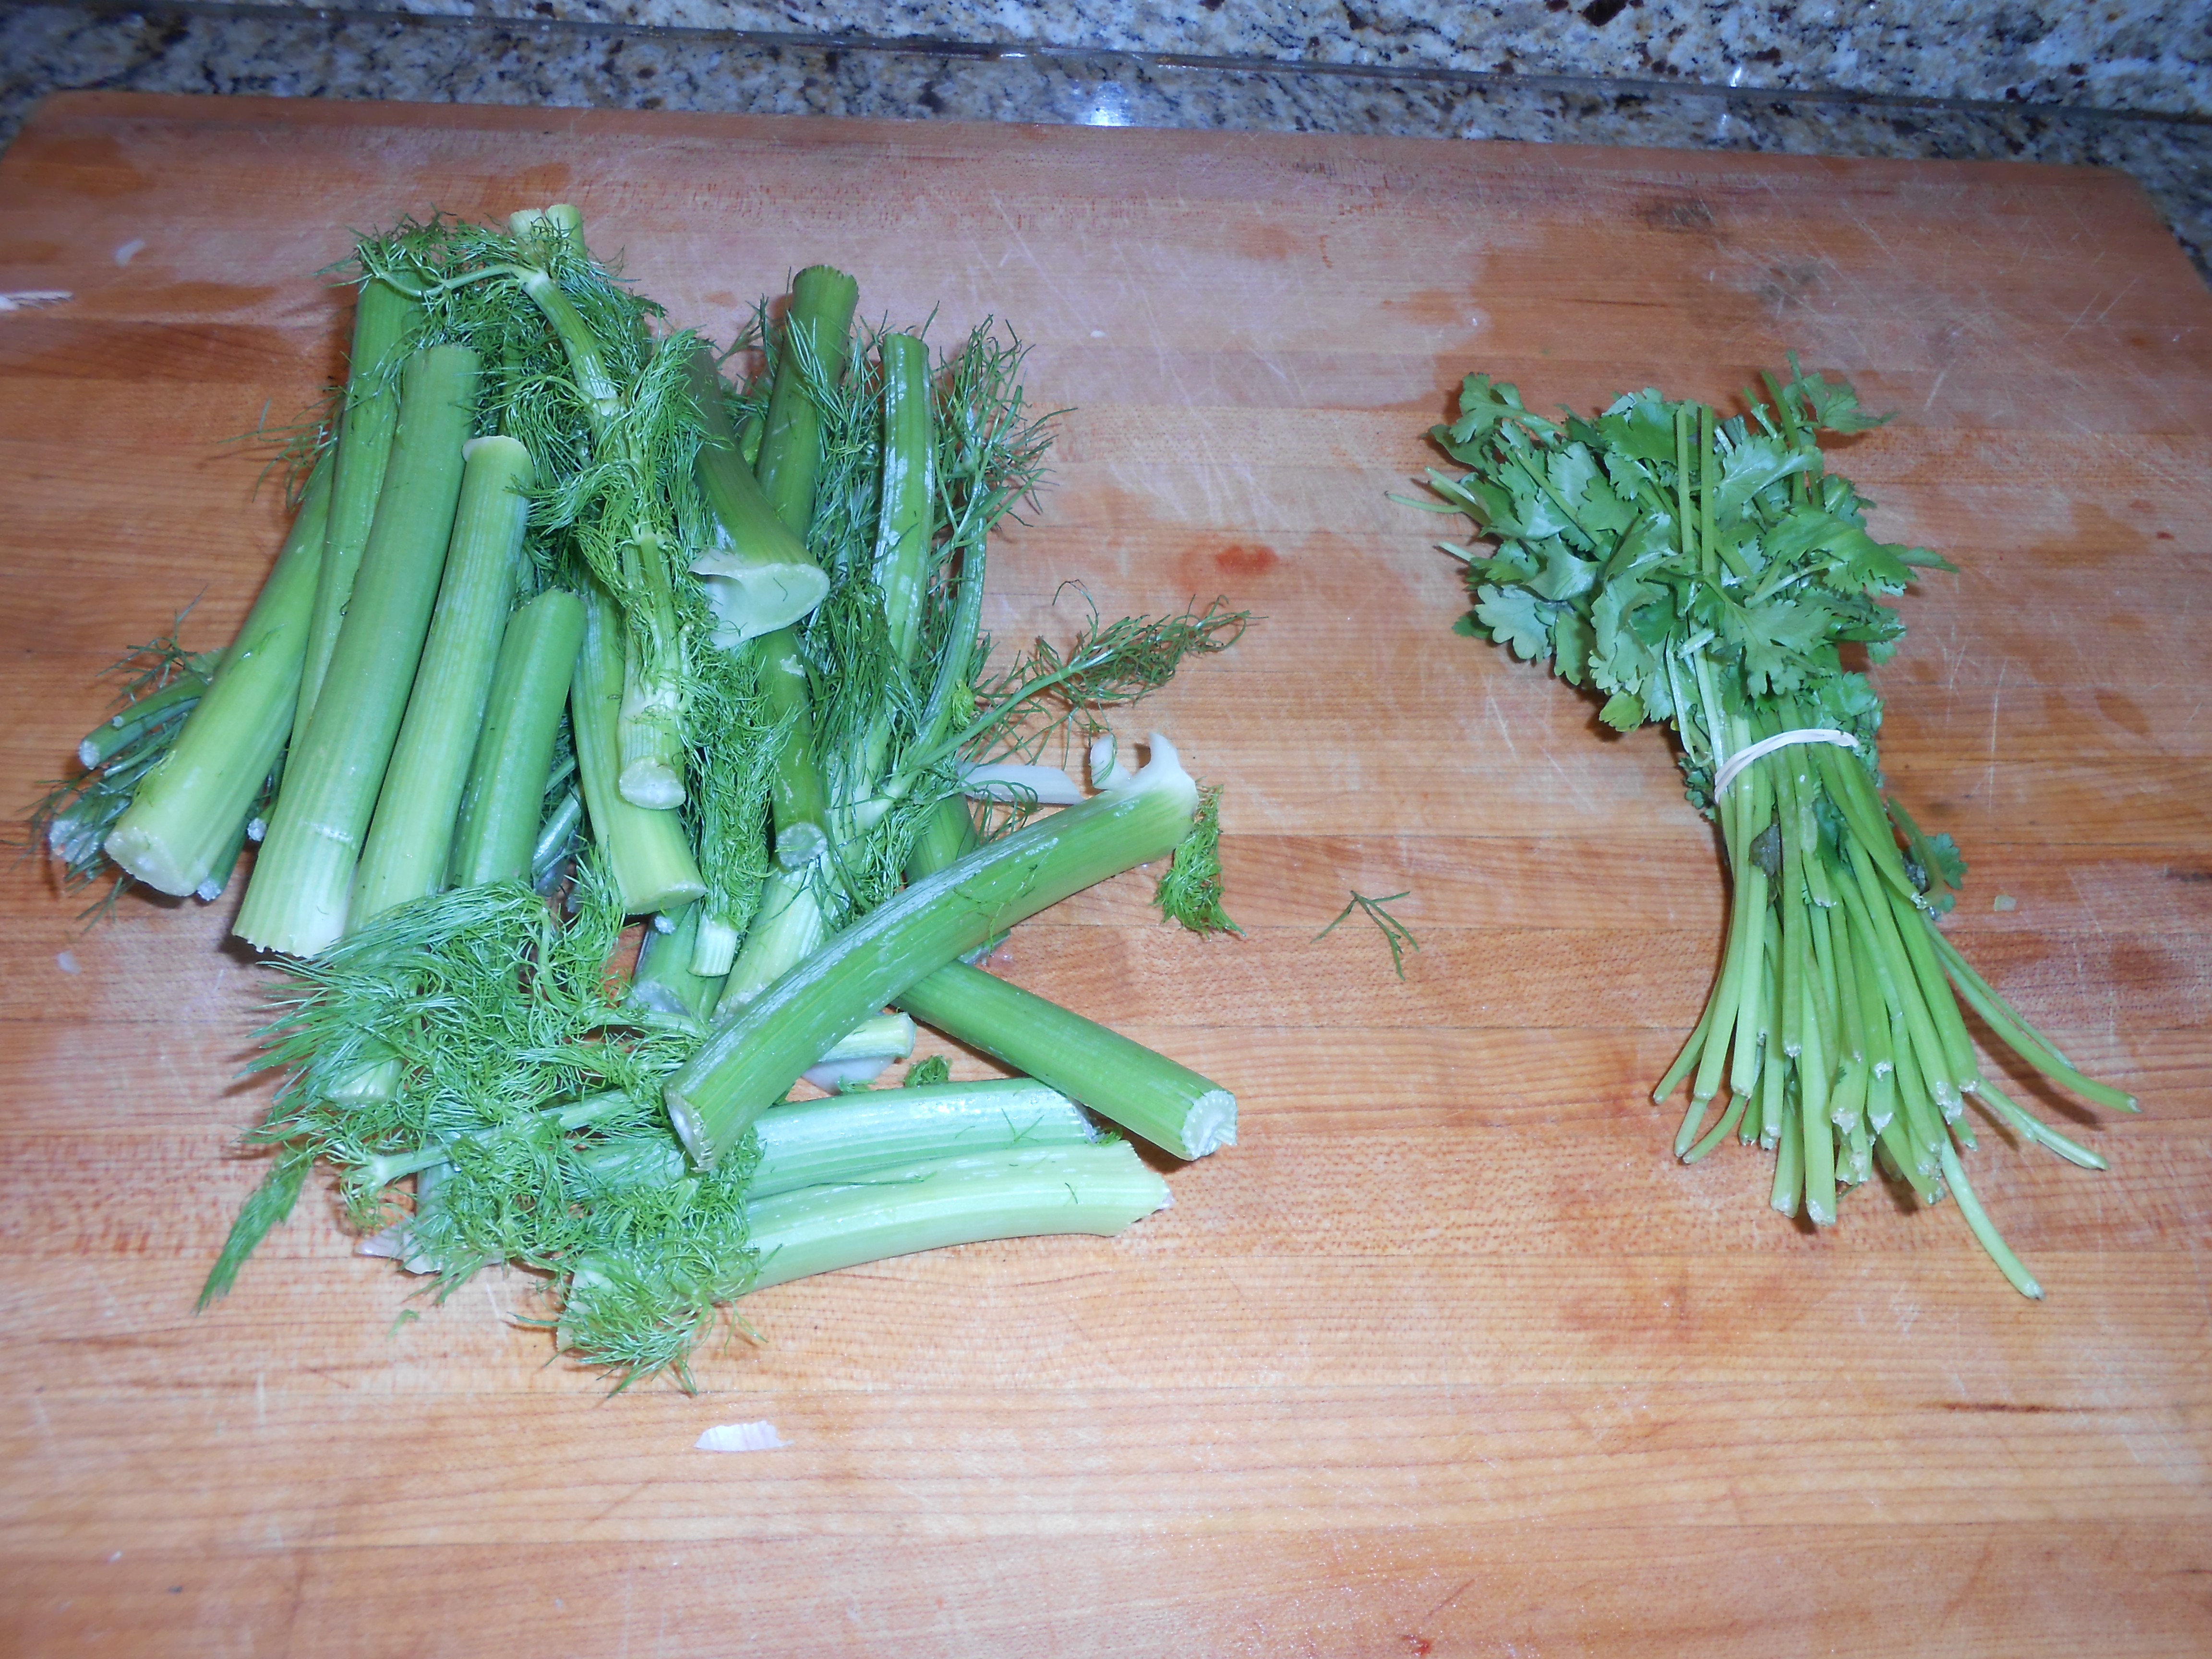 I also add other herbs and vegetables that might be left over, there are many that can add depth to the stock. Fennel tops, parsley stems, and cilantro stems are all great for this. You can save them and stick them in the freezer with your chicken parts, so you’ll have them ready to go.
Chicken parts: This is a modest pile of chicken scraps that we had been keeping in the freezer. It doesn’t look like much, but it will add tons of chicken flavor, and we weren’t going to eat it anyway. There aren’t enough parts to make a whole batch, so I supplemented with chicken wings.
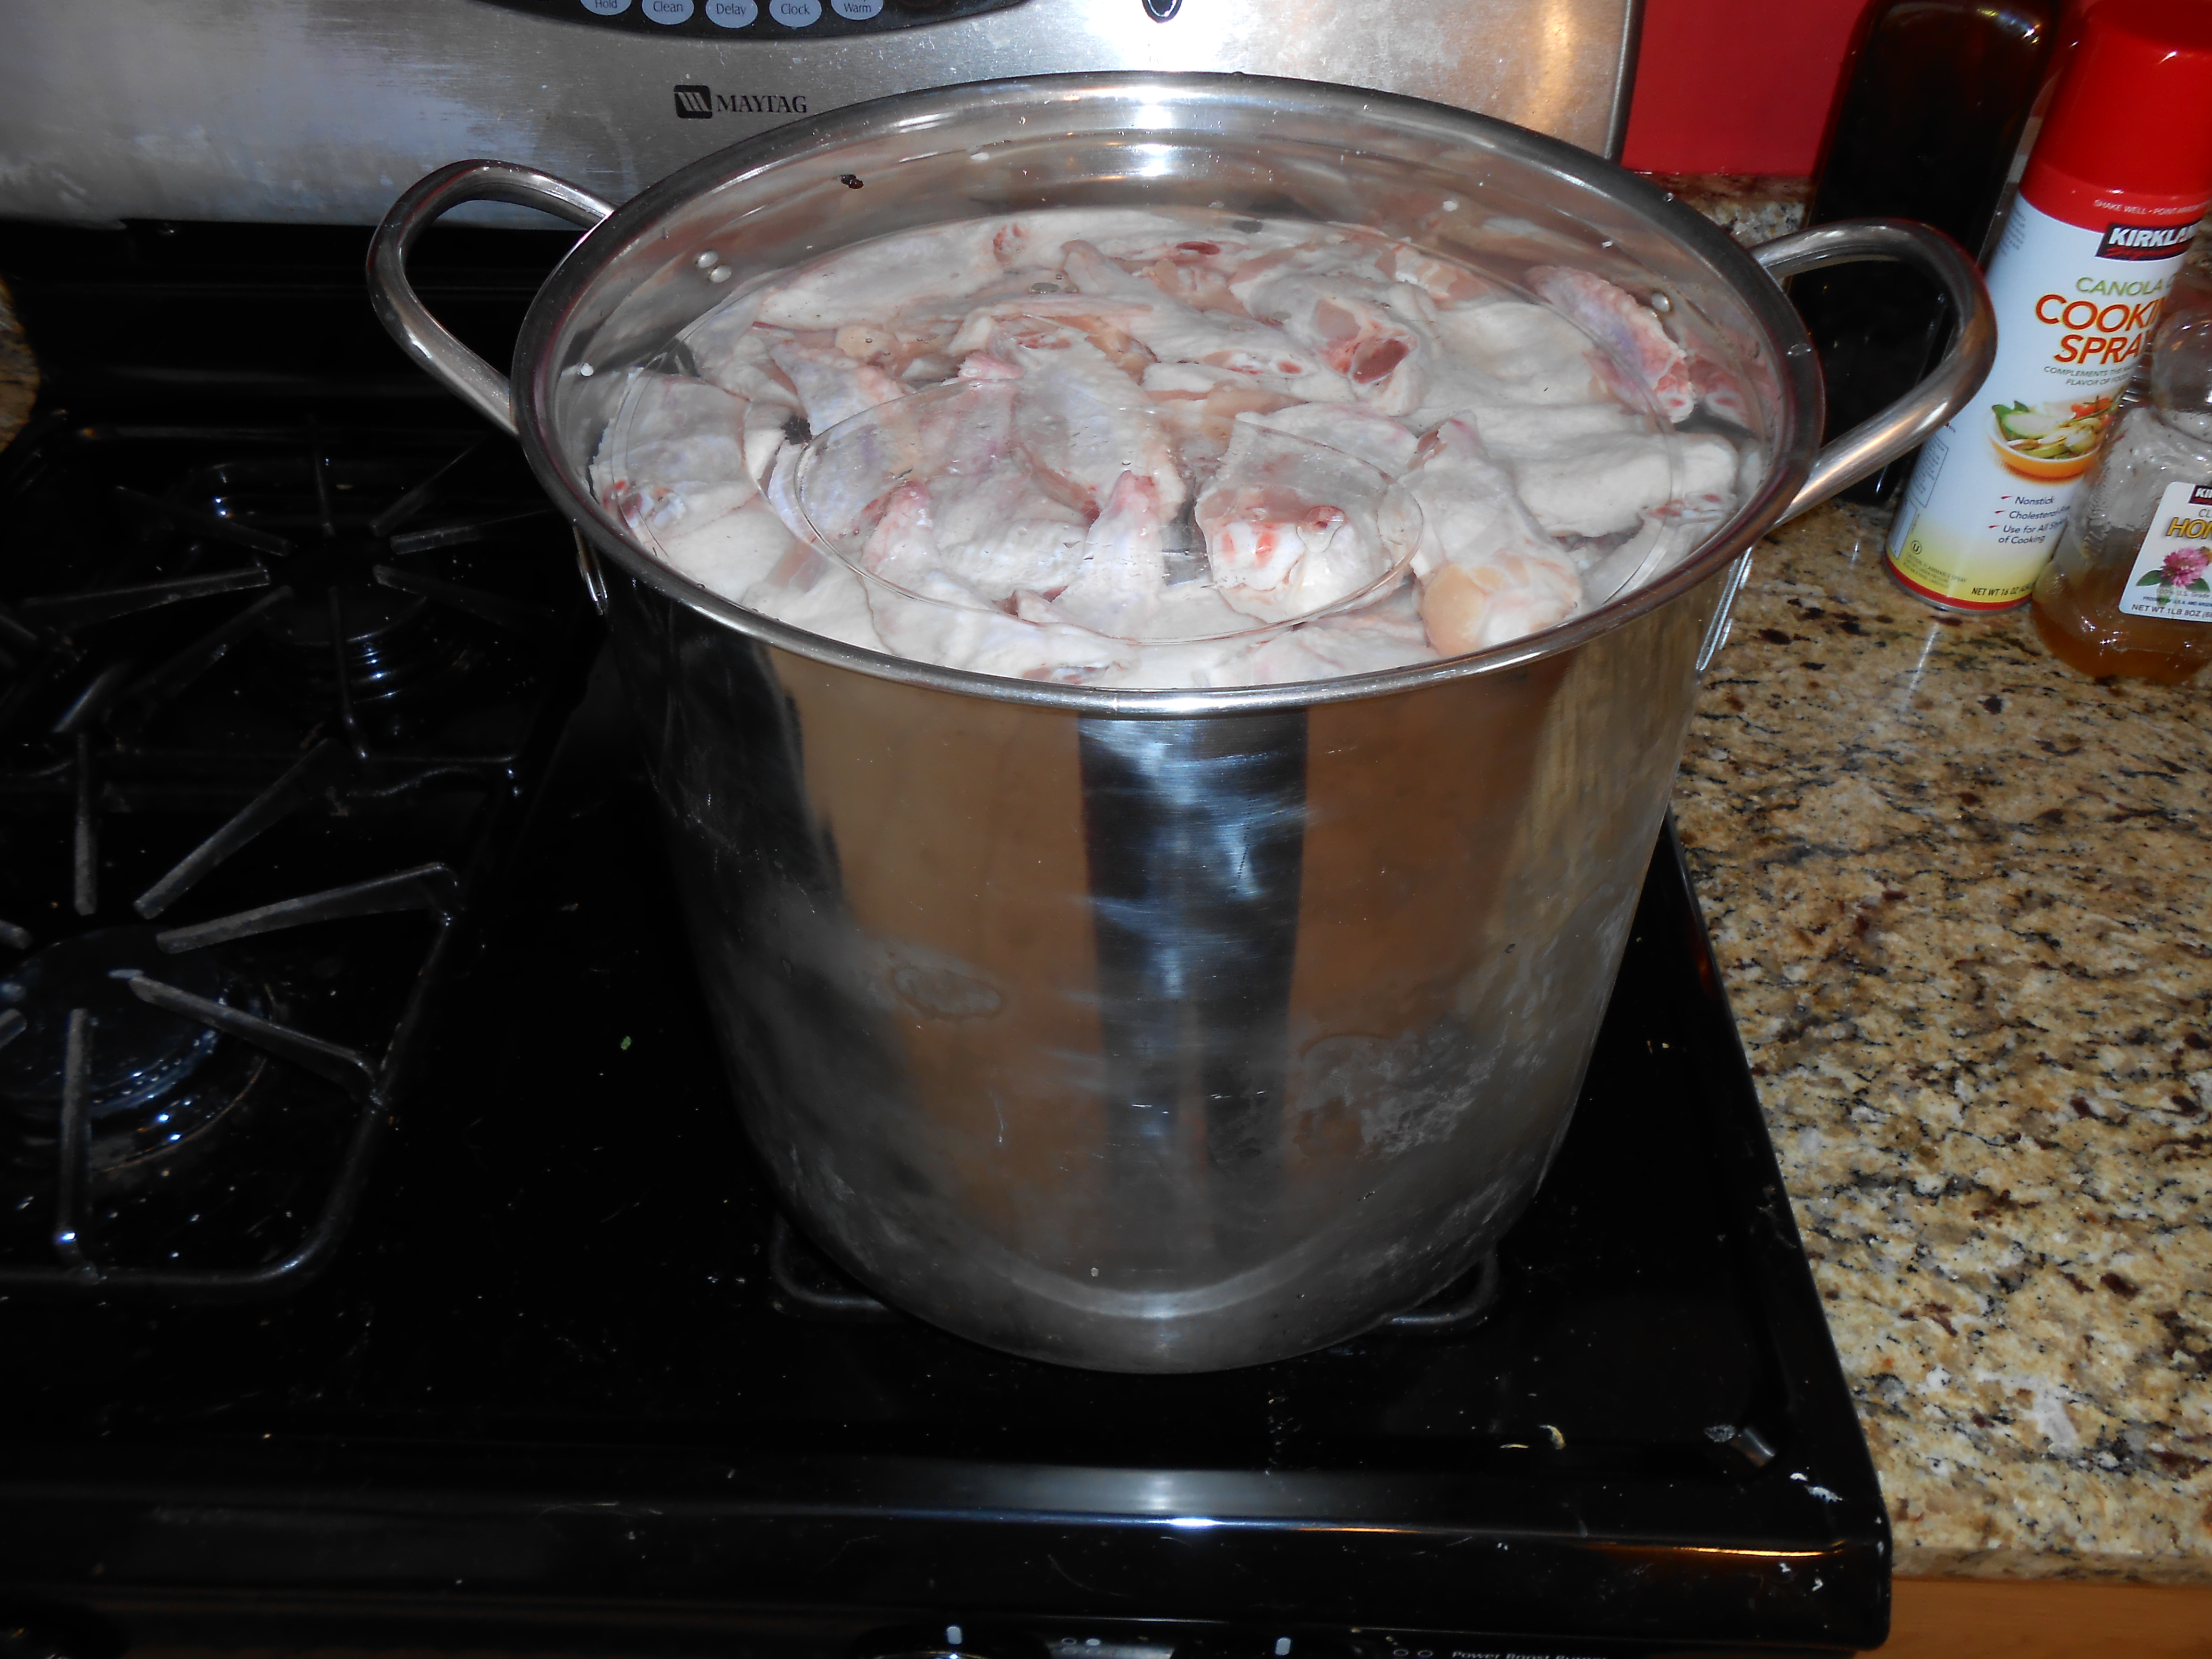
  Chicken wings are a great choice if you have to buy normal cuts for stock. When on sale, they’re cheap, and they’ve got lots of bones. Bones have collagen which adds a thick richness to the stock – the more bones, the better. I used about 7 pounds of wings for this batch, and cut them into pieces so they’d fit better in the pot.
 Put everything in the pot, it will come most of the way to the top, then add cold water to cover it. Leave about an inch of space at the top of the pot because the ingredients expand as they cook. I learned this the hard way and made another nasty mess of the stove as it spilled over.
 If some of the ingredients are floating, invert a glass plate on top to hold them under the water. Then put the pot on the stove and turn on to no more than medium heat. The stock should be heated slowly for a few reasons. First, we don’t want to burn anything on the bottom of the pot. Second, the collagen in the bones gets extracted best if they heat up slowly. Too fast and it’ll lock the collagen in. This is also the reason we use raw chicken instead of cooked bones. You might be tempted to use the bones from a roast chicken to make stock, but the cooked bones have already given up a lot of flavor and won’t contribute any collagen, so the resulting ‘stock’ would just be thin chicken water.
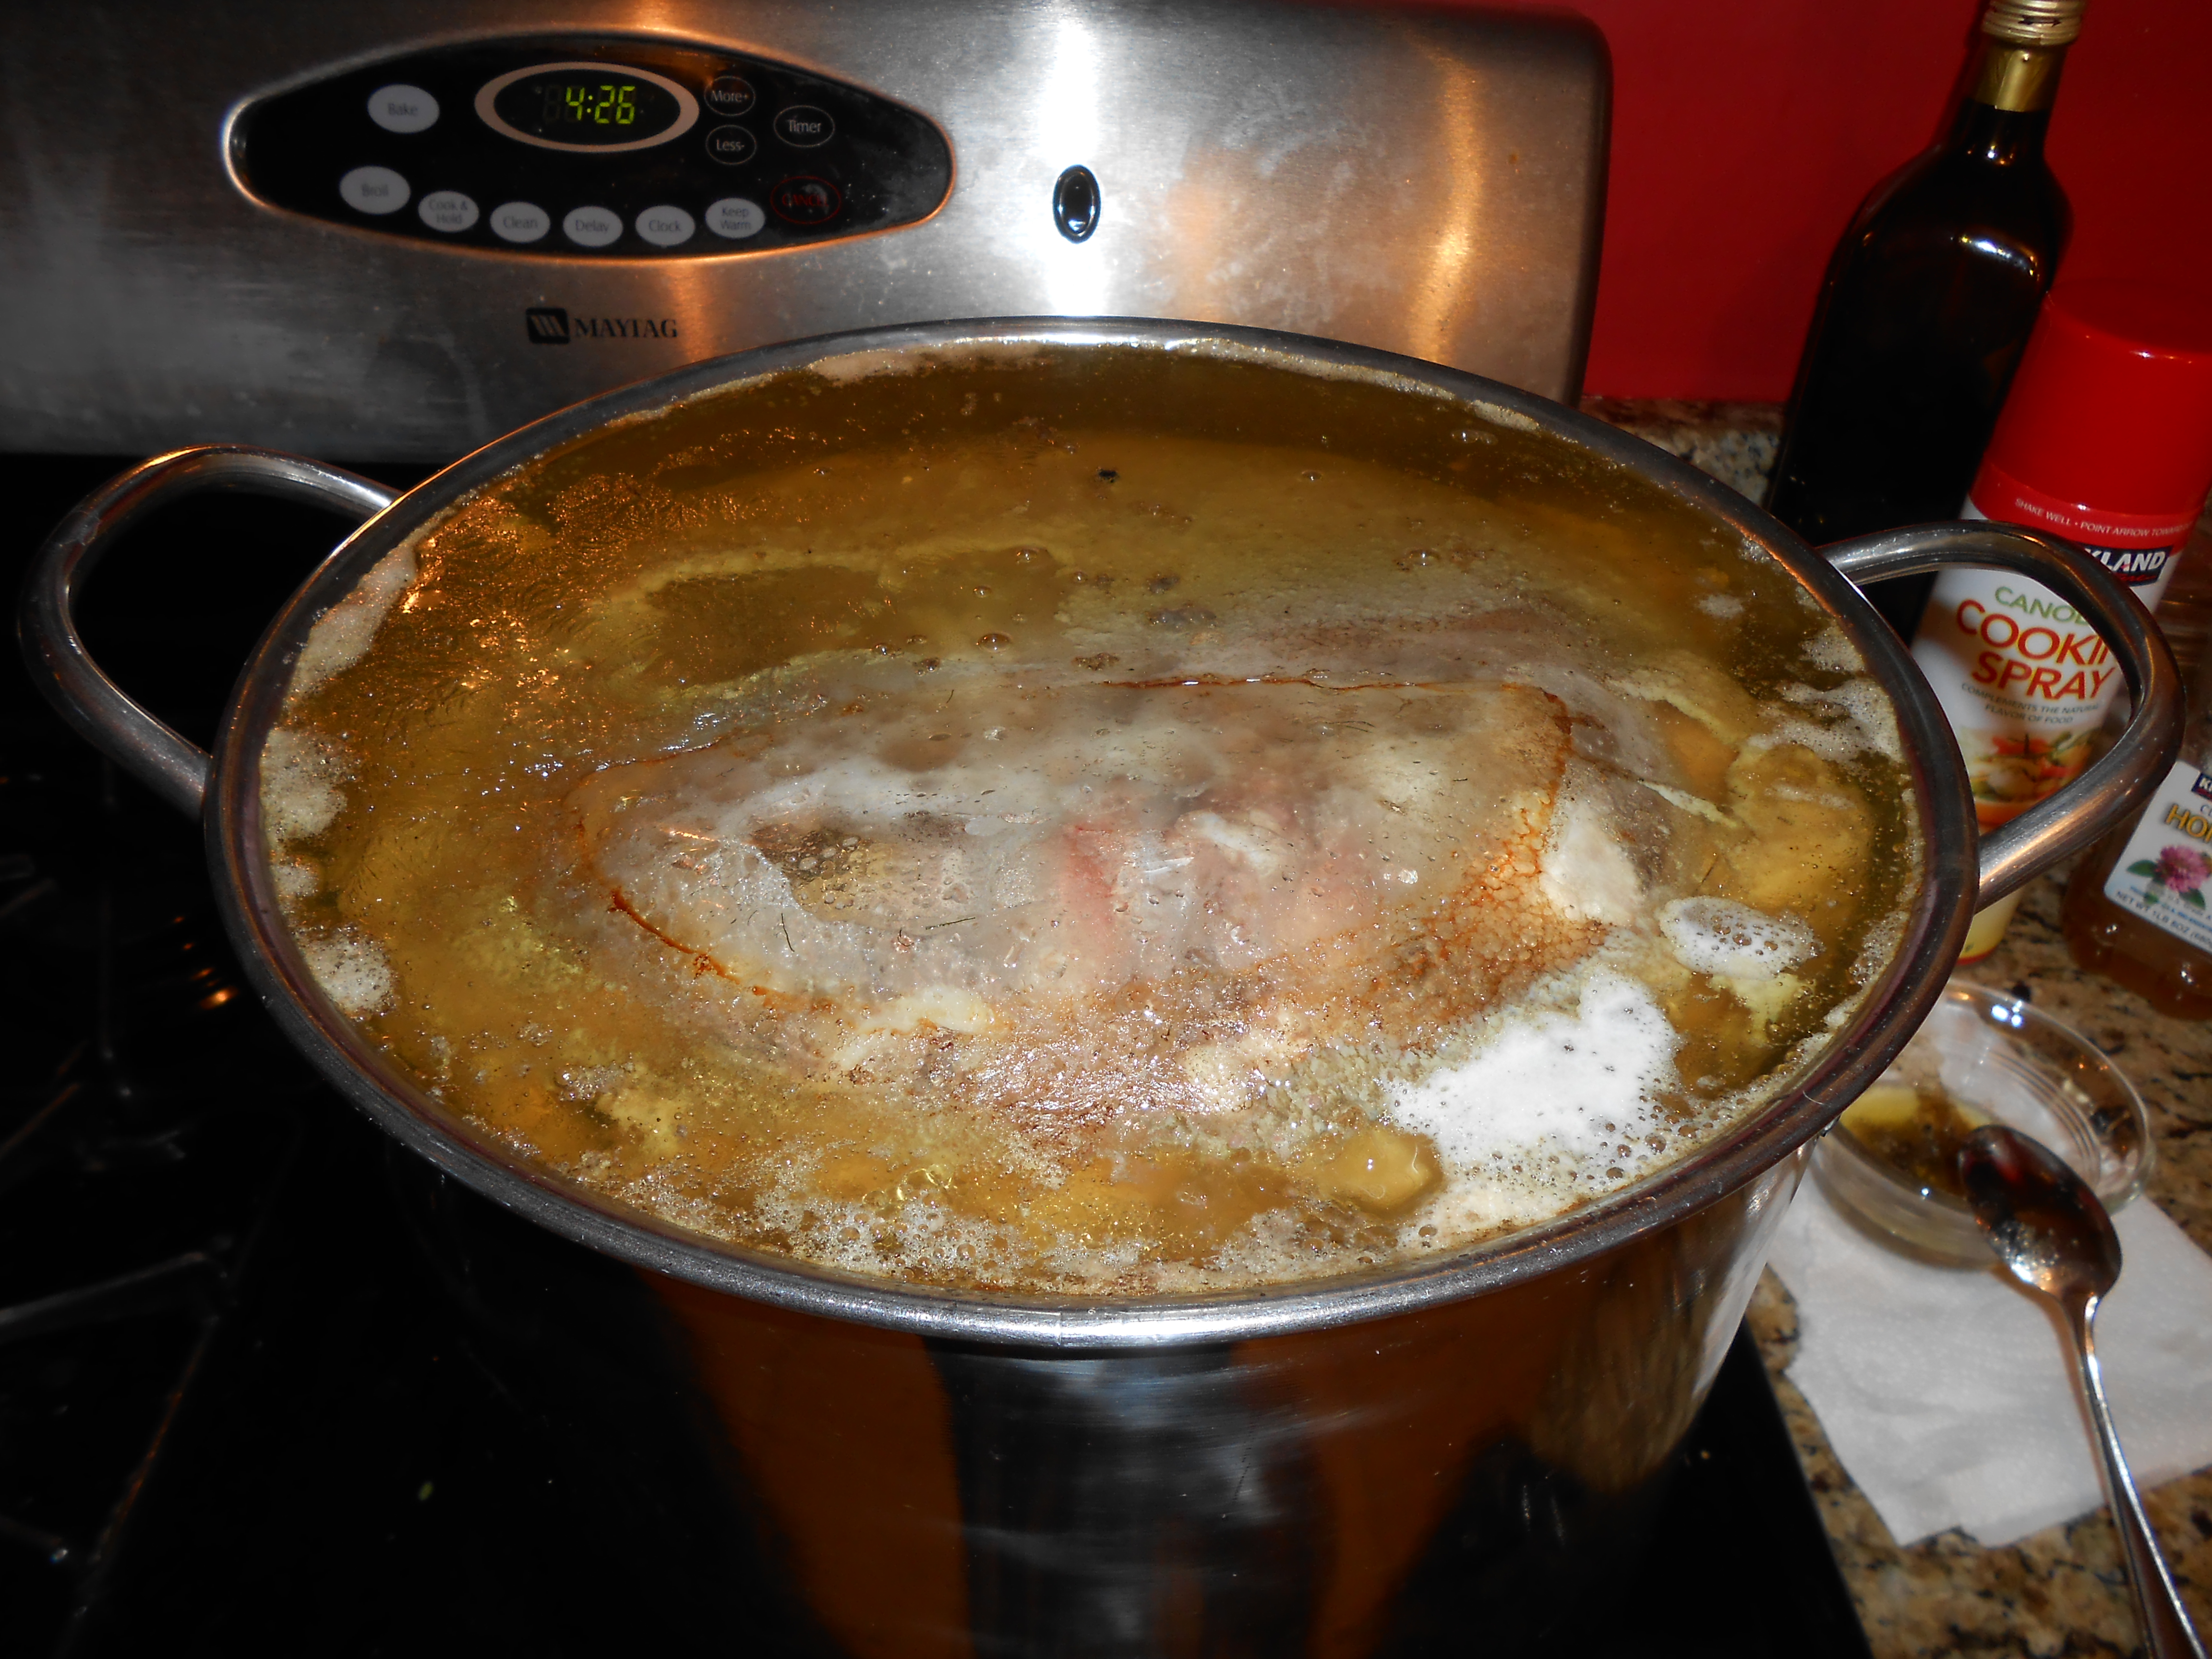 Once it comes to a simmer, lower the heat to just barely maintain a simmer – the calm keeps the stock from getting too cloudy. Skim off any scum and fat that rises to the top. I came pretty close with the water level here – expanded right to the top! Let it simmer as long as you can stand it – at least 6 hours.

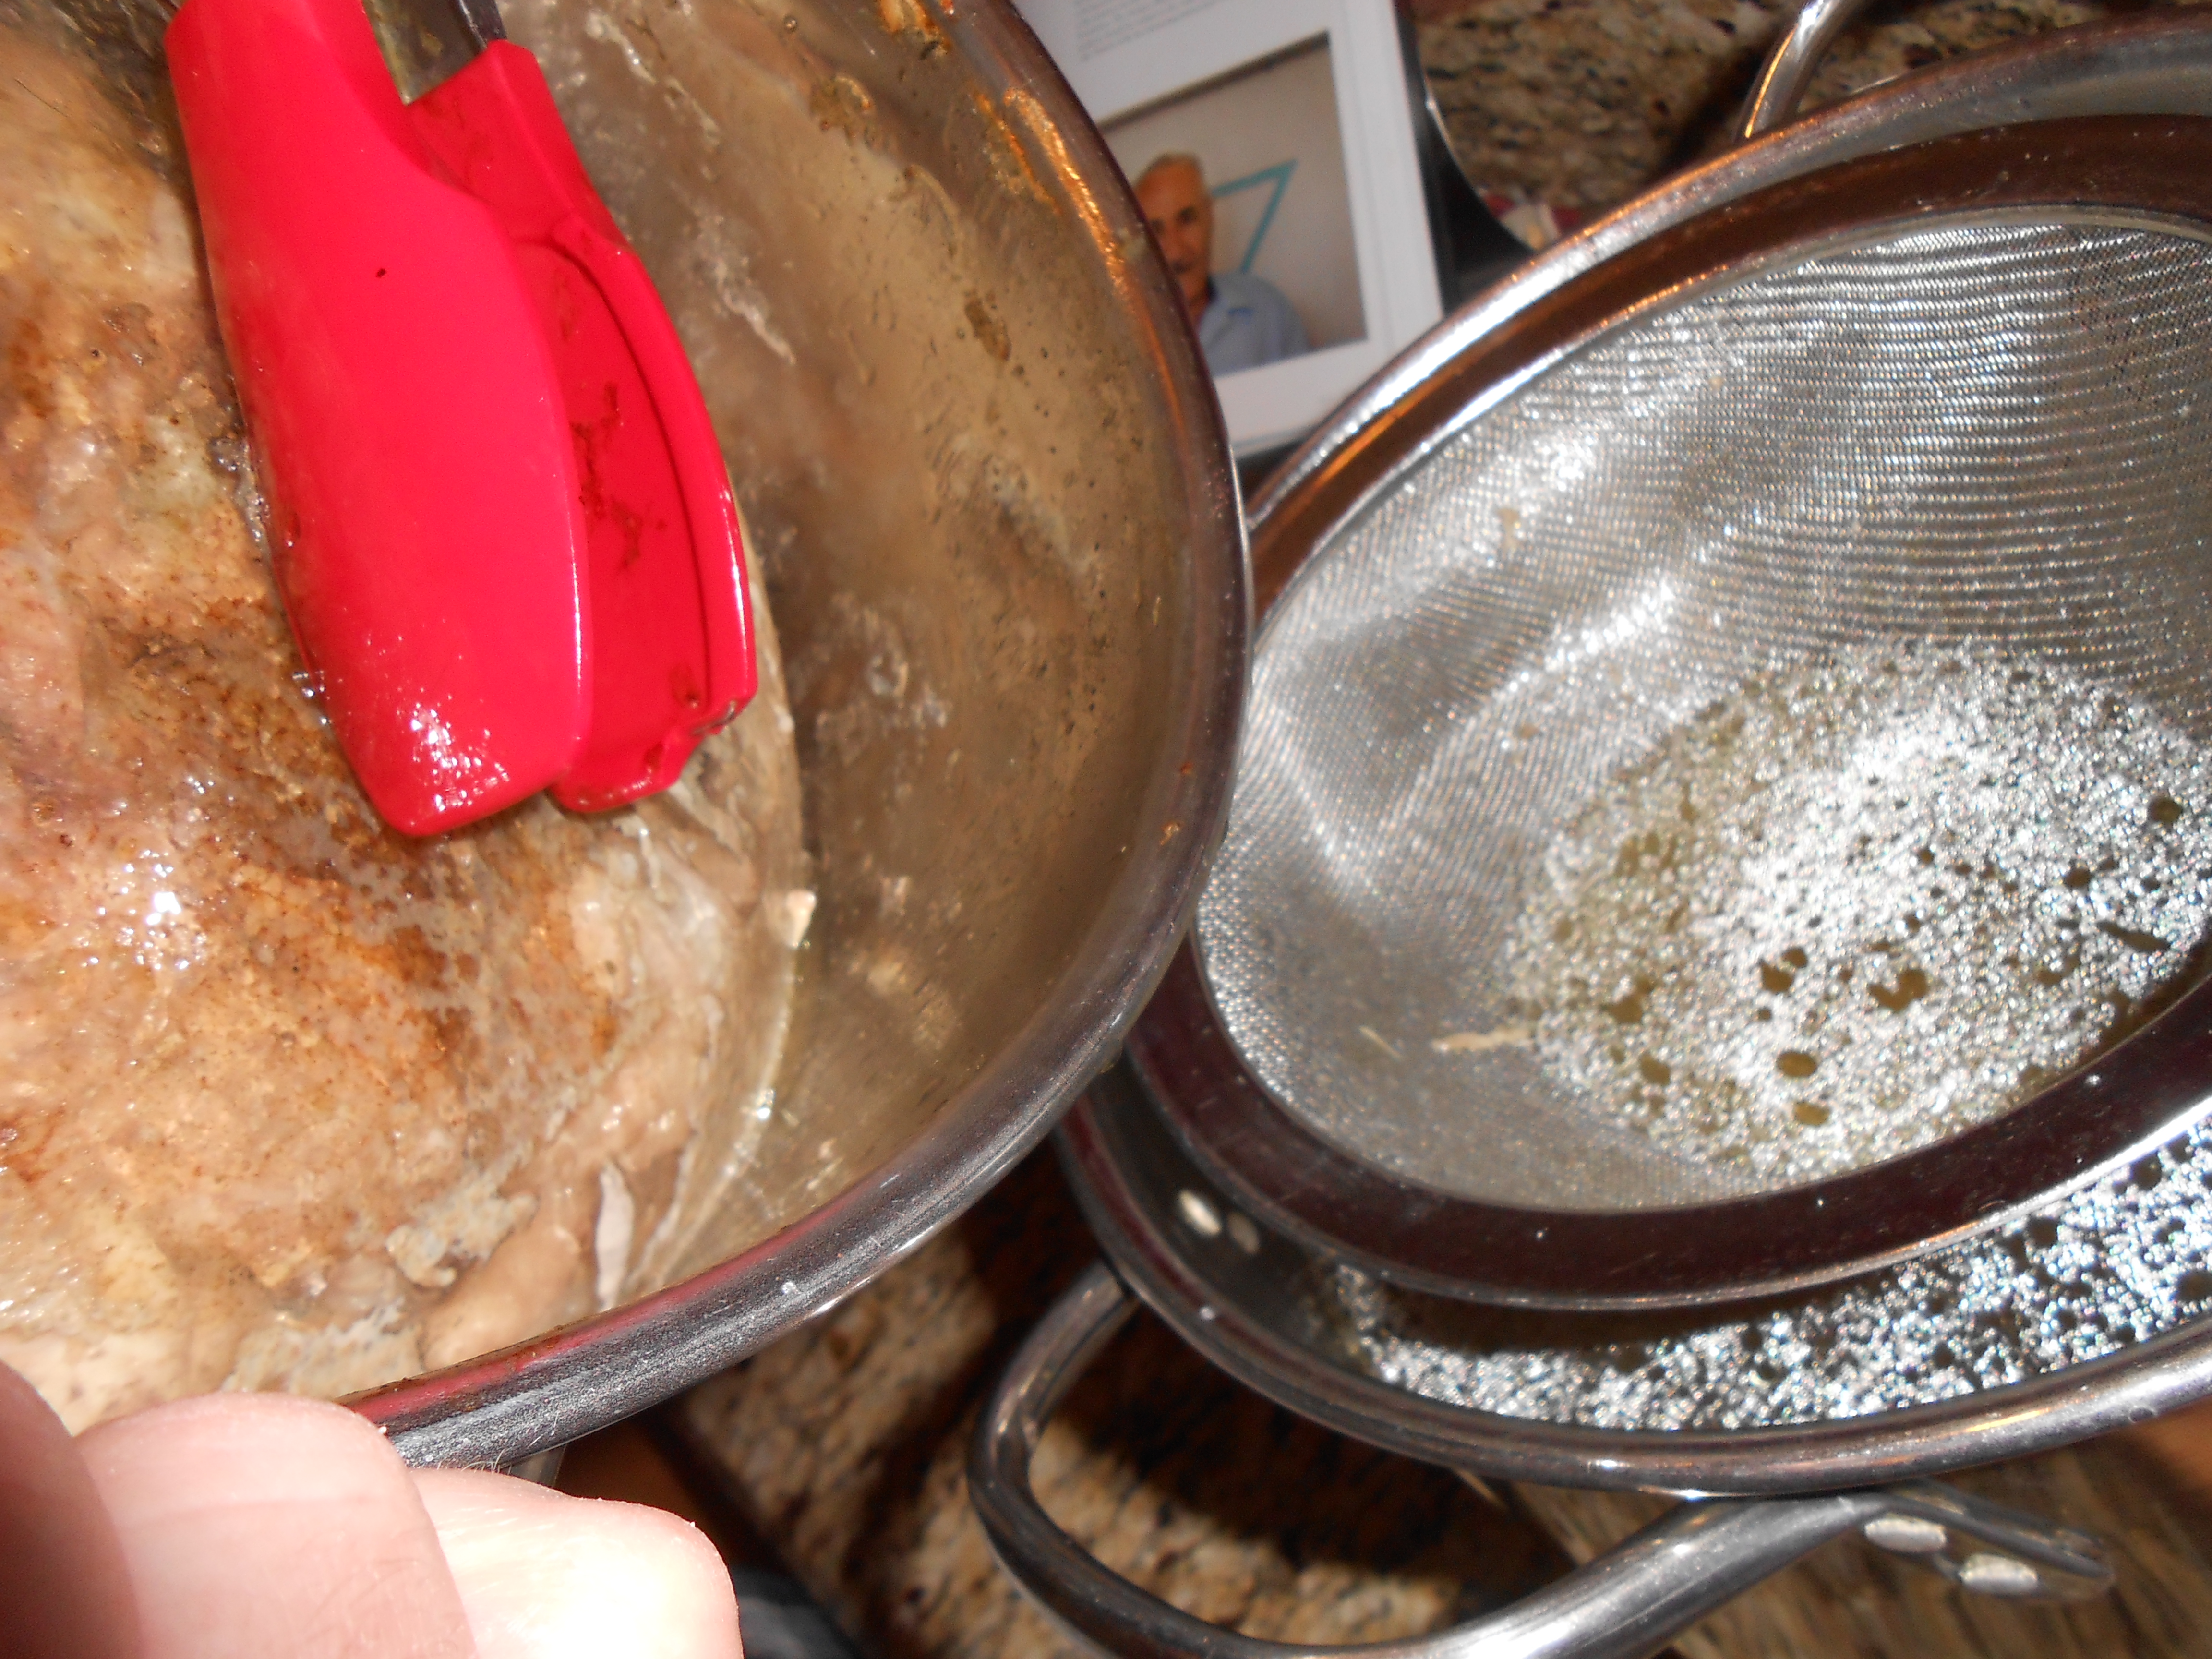
About 2 hours before going to bed, take the stock off the heat, let it cool a little, and strain it into a smaller pot.


It needs to get cooled down fairly quickly so it stays fresh (and doesn’t grow bacteria) so I put a bunch of ice in the bottom of another pot and nest the cooling stock inside. Stir often and it should chill in about an hour. The thickness of the stock will be more obvious as it cools. Ideally, if you were to put some in the fridge overnight, it would even gel up from all the nice collagen. I had forgotten to mention that this method does use 3 different sizes of stock pot, but the good news is that they come in a set pretty inexpensively.
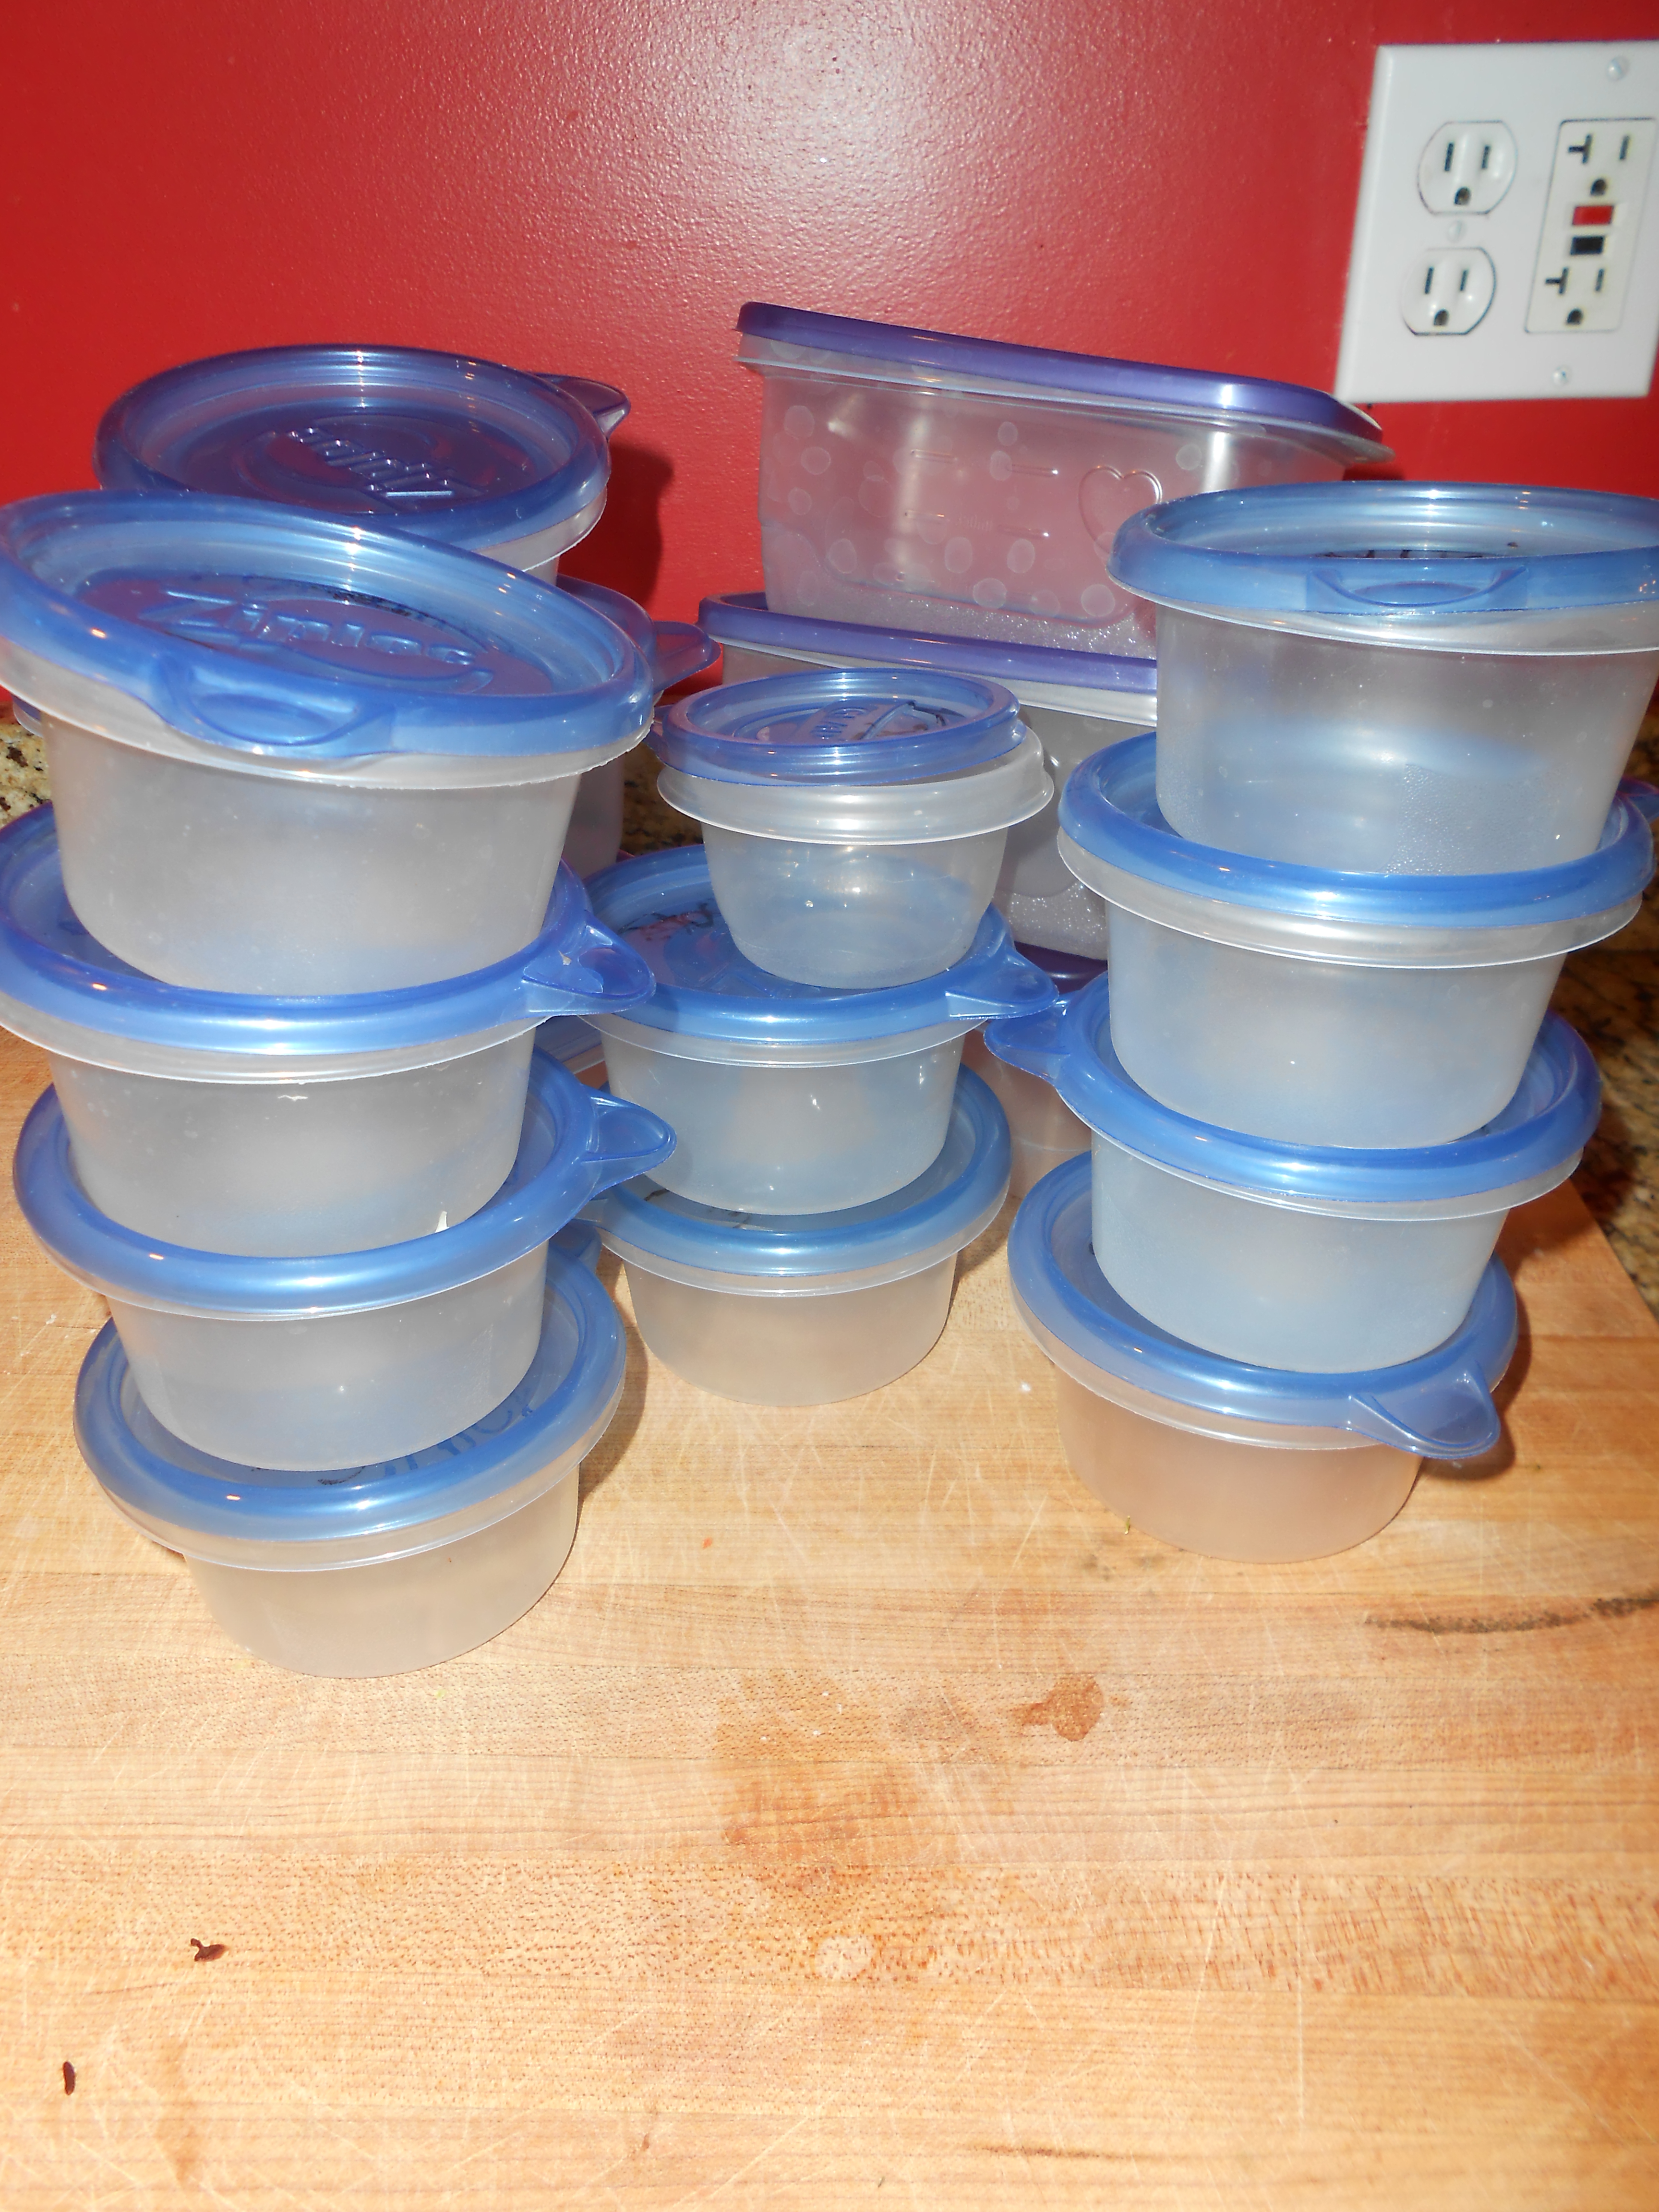
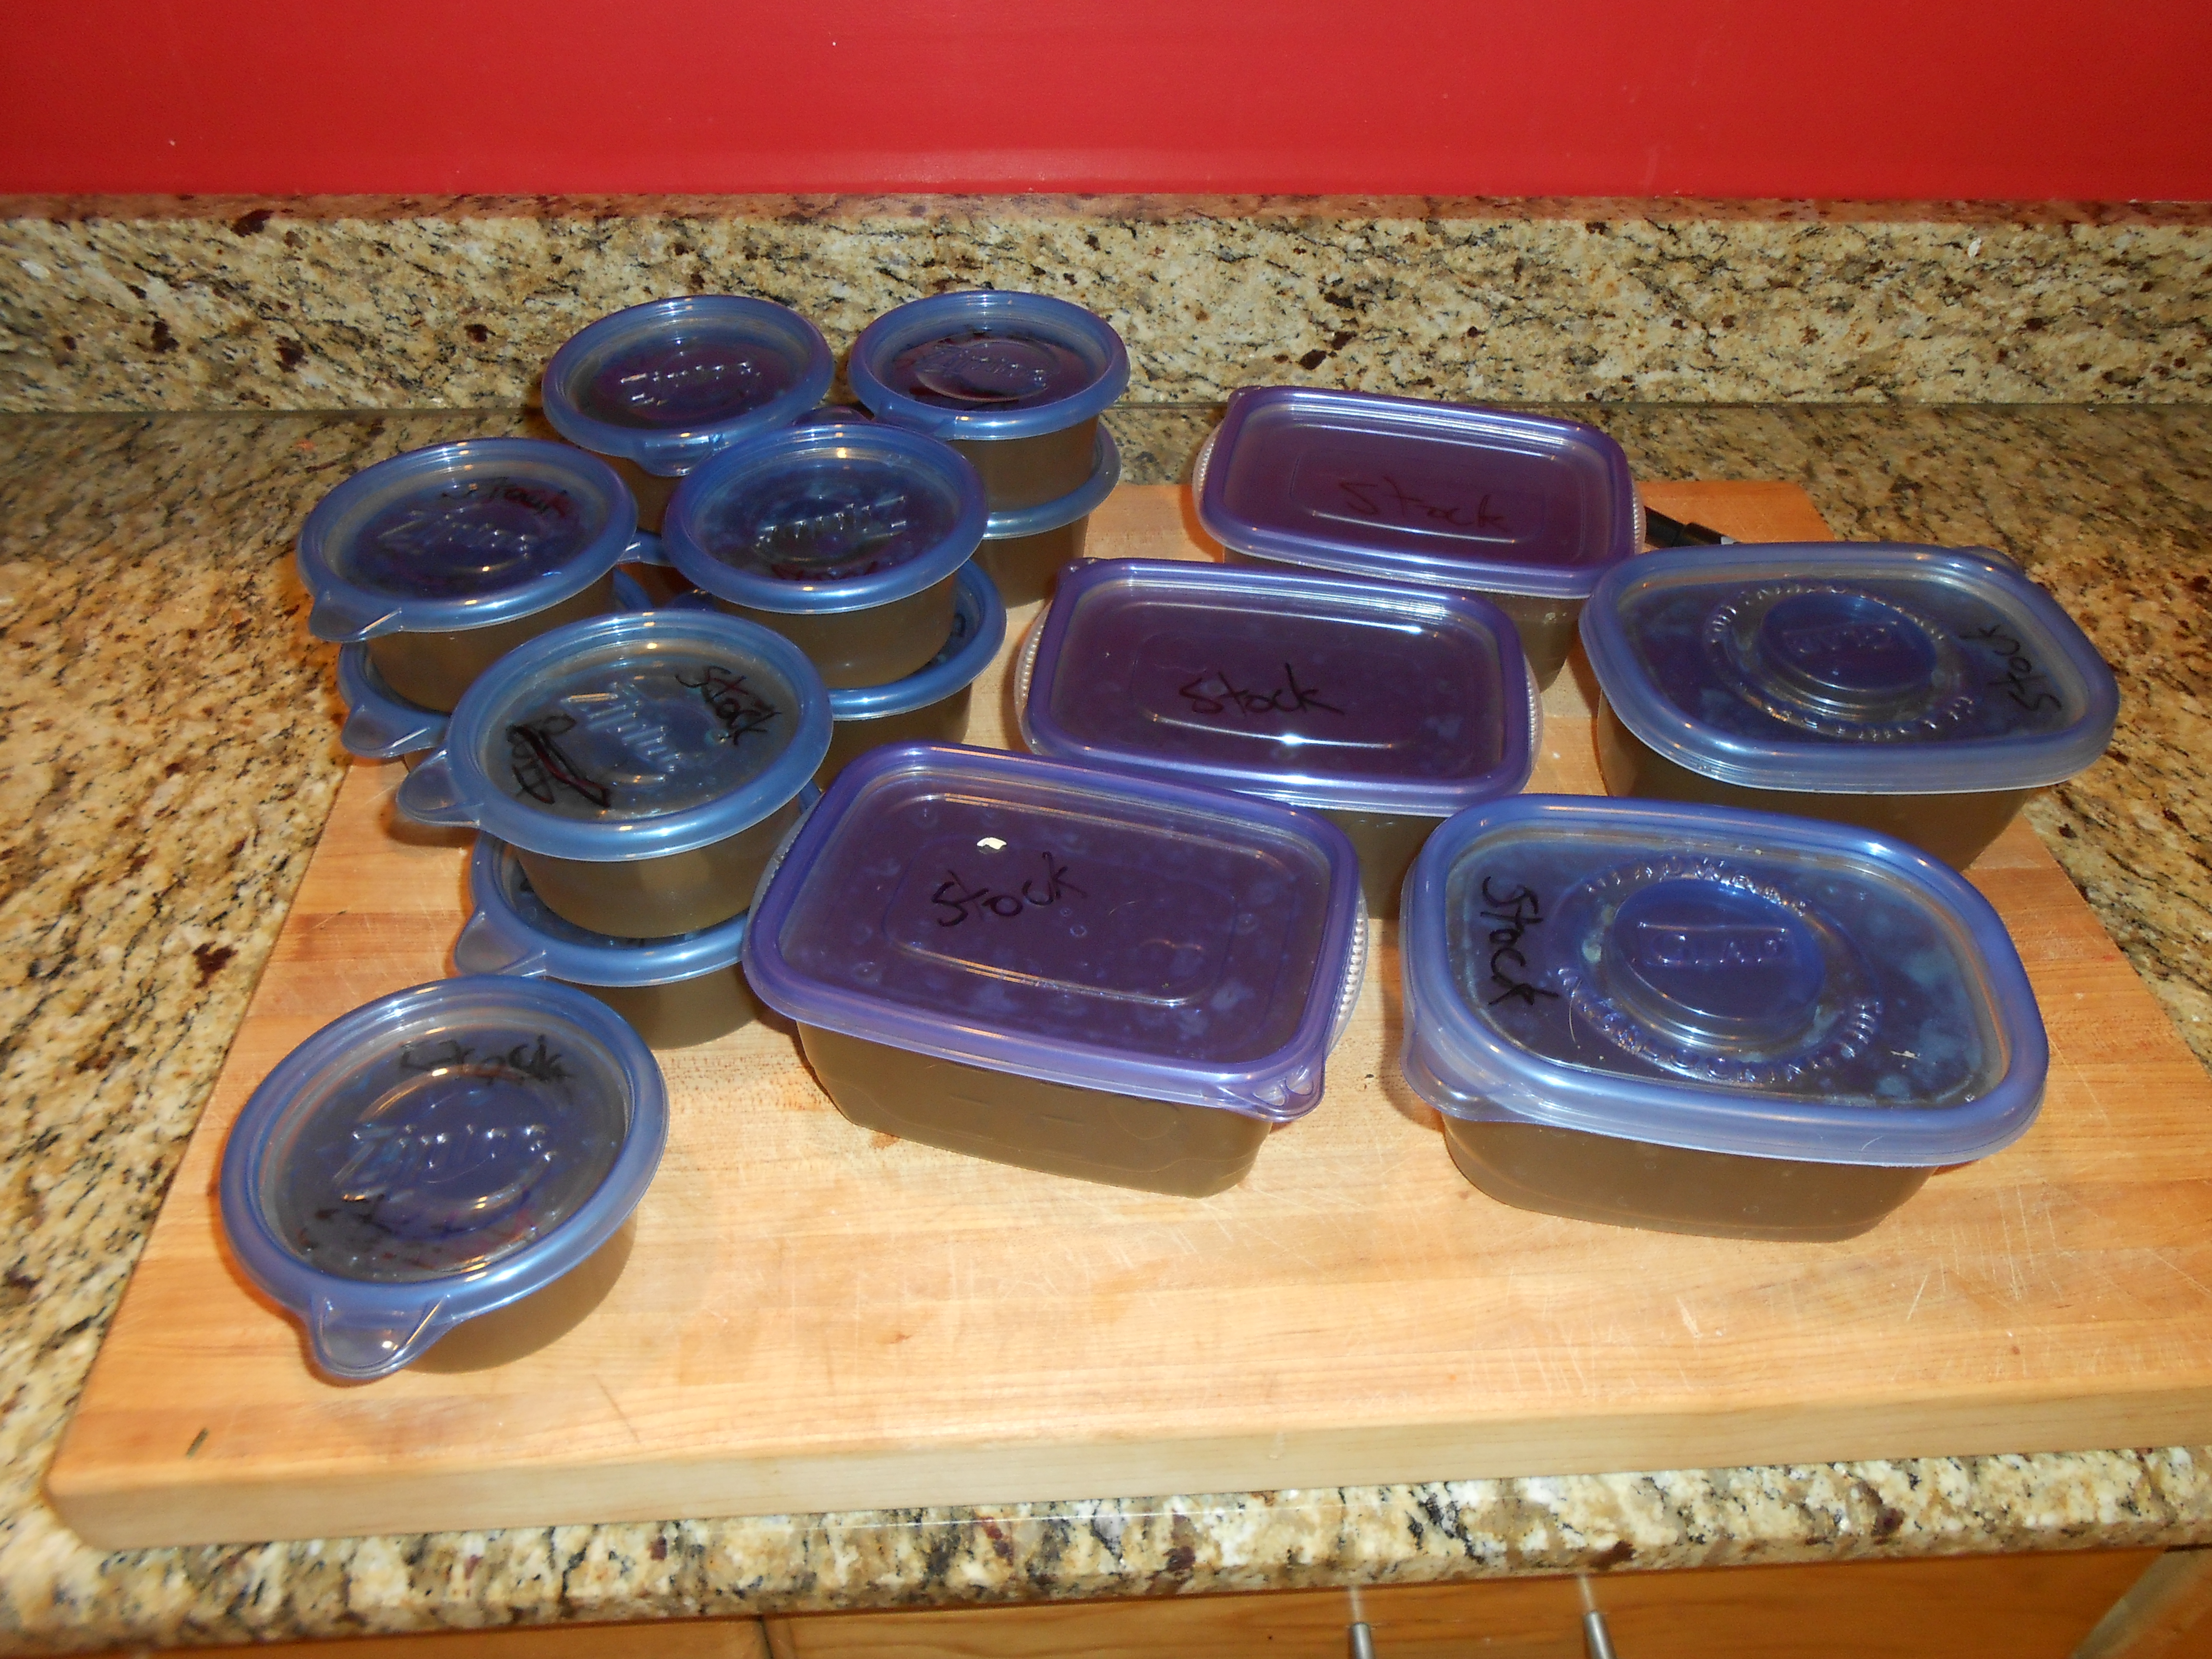
While the stock cools, take the opportunity to find the lids to all your tupperware. I use a few different sizes of containers, the 1-cup size tends to be the most useful. Fill the containers with the cooled stock, label them, and put them in the freezer. They’ll be ready to defrost any time you want to use stock!
- 3 onions
- 4 celery ribs
- 4 carrots
- 1 head garlic
- 3 bay leaves
- 2 teaspoons peppercorns
- 10-12 pounds of chicken parts, including lots of bones.
- Optional: Bunch of parsley, cilantro stems, or fennel tops.
- Cut vegetables into large chunks.
- Cut chicken into pieces
- Add all ingredients to a large 4 gallon stock pot
- Fill pot with cold water to cover contents, leaving 1 inch of room from top
- Turn heat to medium and slowly heat to a simmer
- Simmer for at least 6 hours.
- Strain into another pot and set into an ice bath to cool
- Divide into containers and freeze


This looks wonderful. I will just have to try it some time. So – there’s no need to peel the onions and garlic, right? And fennel sounds like a great addition.
No need to peel ANYTHING! It all gets strained out. No chemicals, no additives- just awesome stock. And since it has so much collagen, it actually thickens up really well.
Easier than I would have done it if I hadn’t seen the post! Thanks!